Summarize this article with:
In this guide, we’ll show you how to optimize prompts using JavaScript. Whether you're improving AI responses, refining content generation, or enhancing model performance, this tutorial covers key techniques for prompt optimization.
By the end, you'll be able to craft more effective prompts, boosting accuracy and efficiency in your JavaScript projects.
What is Prompt Optimization ?
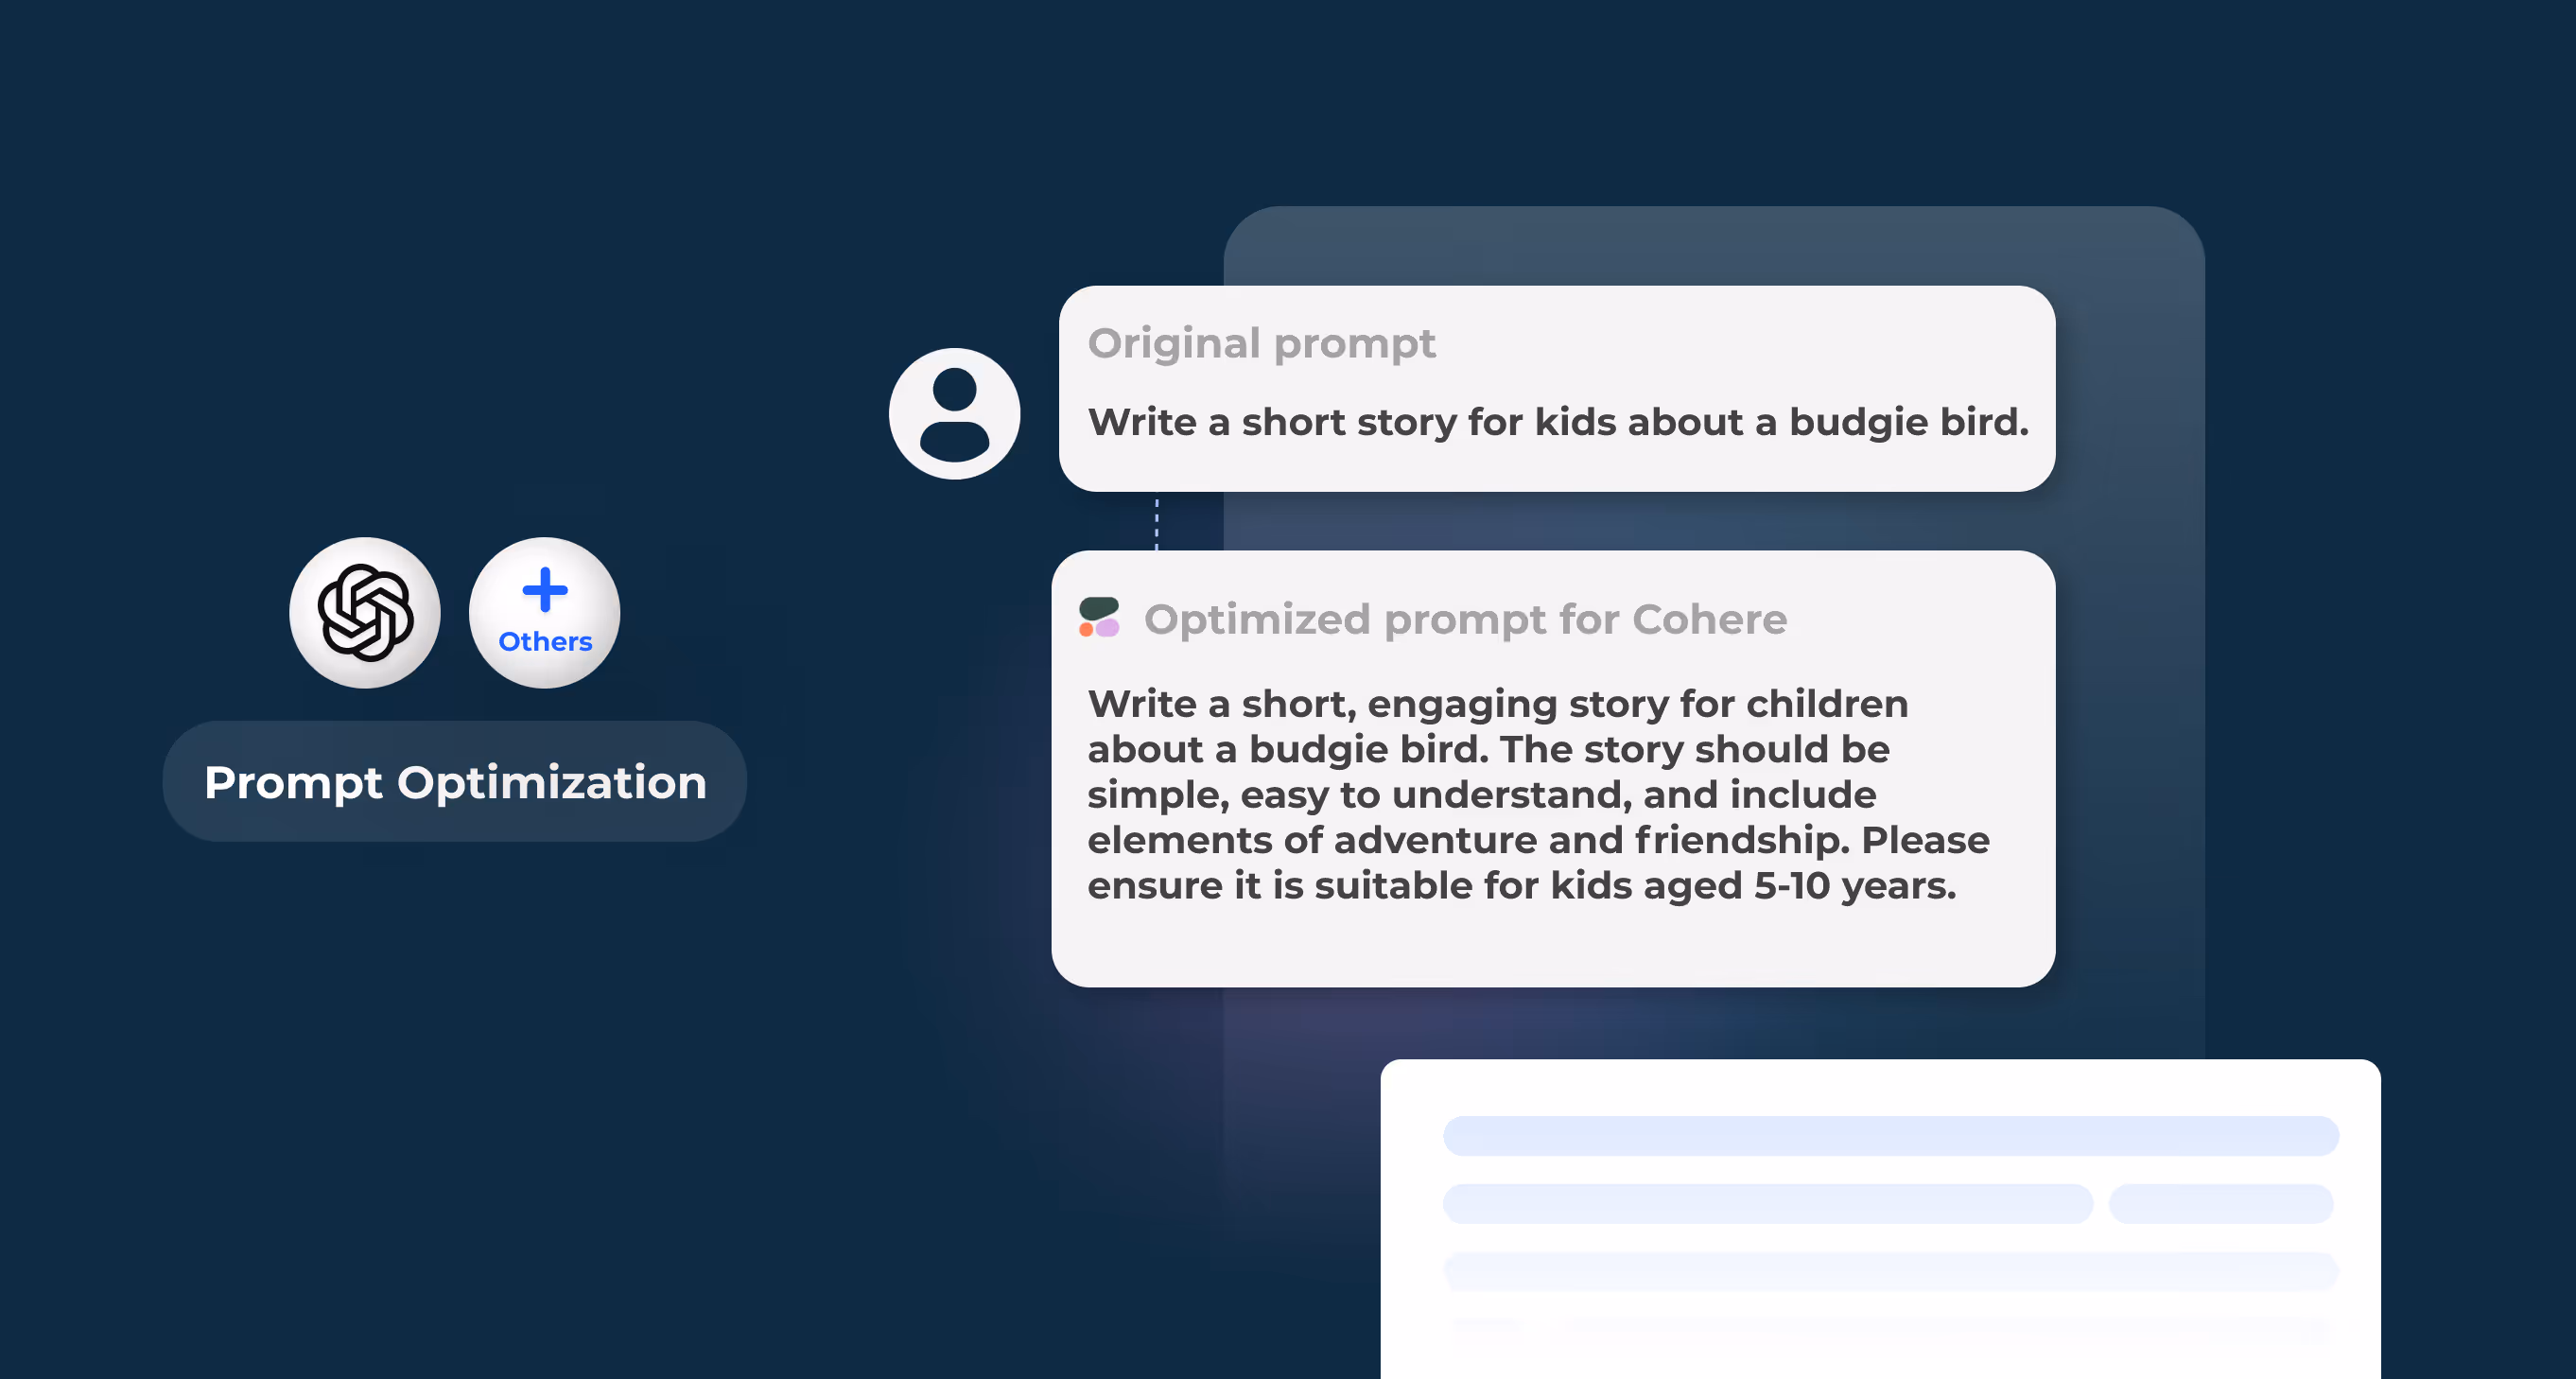
Prompt optimization involves refining the input given to AI models to produce more accurate, relevant, and effective responses. By carefully adjusting and fine-tuning prompts, you can guide the model to deliver better results, whether for text generation, answering questions, or specific tasks.
Effective prompt optimization improves the model's performance, reduces confusion, and ensures the responses align closely with your goals.
How to Optimize Prompts?
Get Access to Eden AI API
1. Sign up: To start optimizing prompts, sign up for Eden AI and get your API key. This key grants you access to a variety of AI services for prompt optimization.
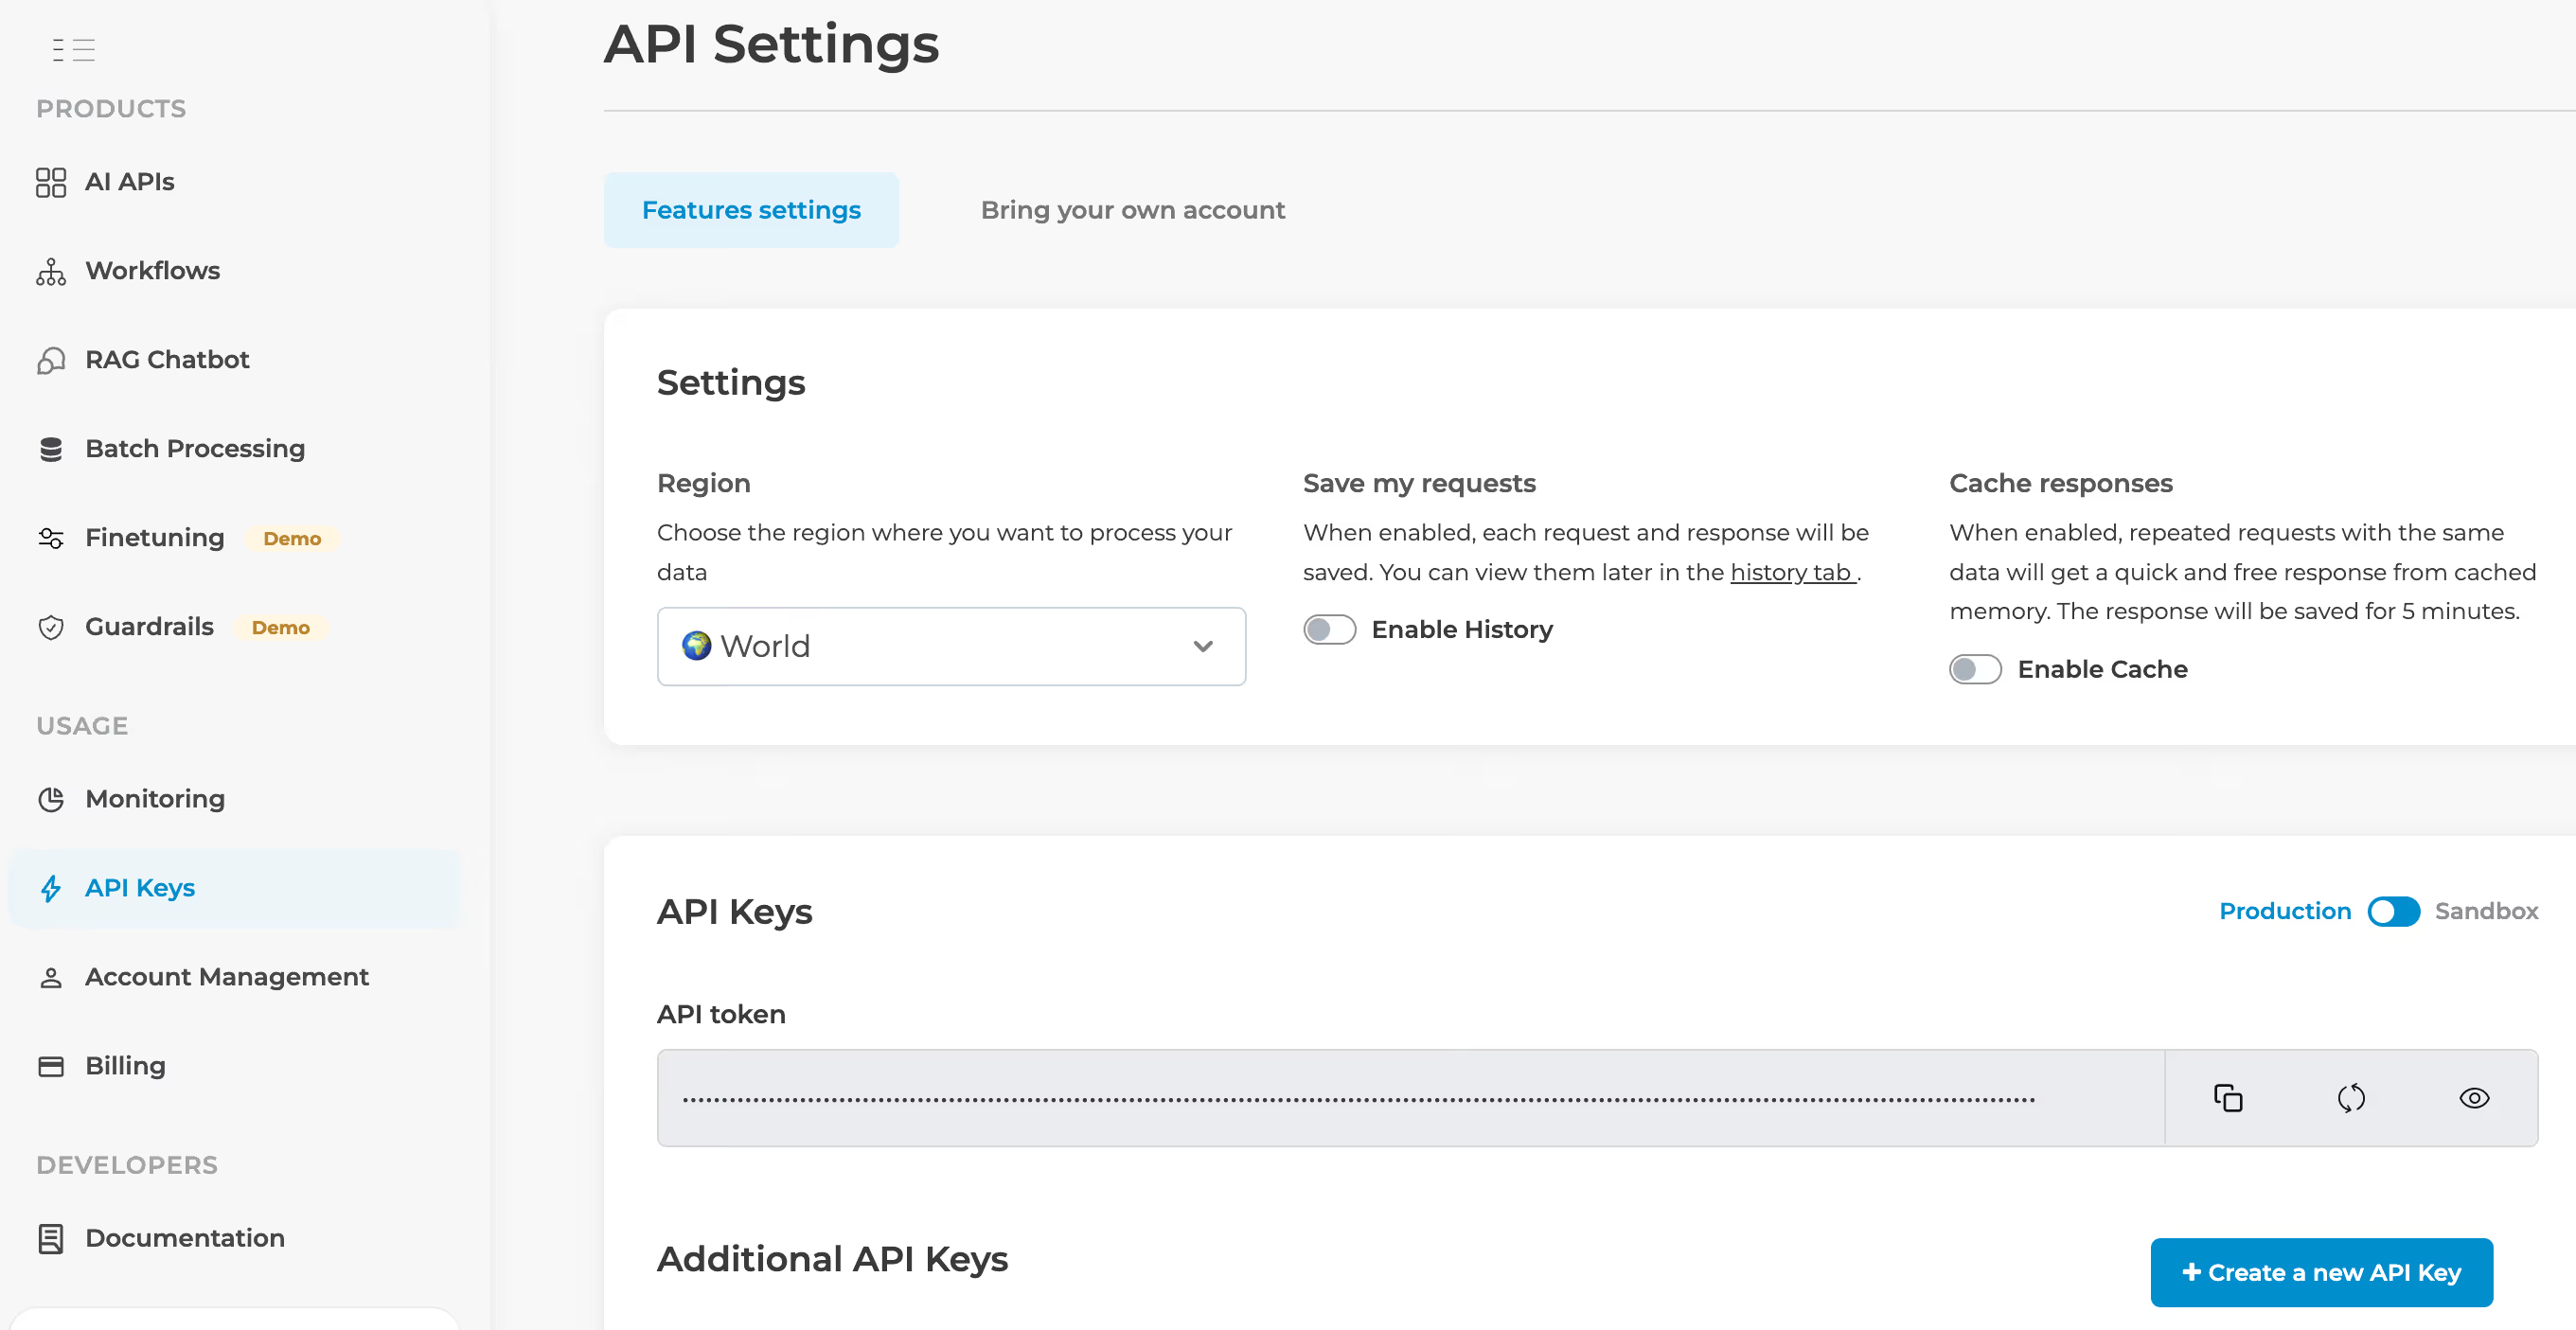
2. Access Text Processing: Once logged in, head to the Text section of the platform to access the available tools.
3. Choose Prompt Optimization: Click on the Prompt Optimization feature.
Install JavaScript's Axios Module
To interact with the Eden AI API in JavaScript, we will use Axios, a popular HTTP client that simplifies sending requests. If you don’t have it installed, run the following command to install Axios:
This module will allow you to make HTTP requests to Eden AI's API and handle the responses with ease.
Prepare the Code
Now, let’s walk through the code example to demonstrate how to use Eden AI’s API to detect AI-generated images.
Importing Axios: The first line imports the axios module, which allows you to make HTTP requests in JavaScript.
Request Options: The options object contains the configuration for the HTTP request:
- Method: A POST request is used to send data to the Eden AI API.
- URL: The URL points to Eden AI's AI-generated image detection endpoint. Update this URL according to Eden AI's latest API documentation.
- Headers: The authorization header includes your API key to authenticate the request.
- Data: The payload contains:
- image_url: The URL of the image you want to check, or a base64 string of the image.
- providers: The AI provider you're using (e.g., OpenAI).
Sending the Request: The axios.request(options) function sends the request to the Eden AI API with the provided options.
Handling the Response:
The .then() block processes the response from the API, where you can access the result of the image check.
The .catch() block catches and logs any errors that occur during the request.
Interpreting the Results
After sending the request, you will receive a response that indicates whether the image is AI-generated or not. Here’s an example of the output you might receive:
Result: This field shows whether the image is AI-generated ("AI-generated") or not.
confidence: This field indicates the confidence level of the detection, with values close to 1 representing higher certainty.
Why Eden AI is the Best Tool for Prompt Optimization
Eden AI stands out as an excellent tool for prompt optimization for various reasons

Multi-provider Support
Eden AI lets you integrate multiple AI providers in a single workflow, ensuring you can access the best models for any task, whether it’s from OpenAI, Google, or others.
High Accuracy
You get more precise results, reducing errors and improving the quality of AI tasks like text generation, summarization, and data extraction.
Ease of Integration
Eden AI offers simple API integration into JavaScript projects with minimal setup, allowing for fast implementation and easy development.
Scalability
The platform is highly scalable, supporting projects of any size and easily adapting to various use cases across industries.
Conclusion
In this guide, we've walked you through how to detect AI-generated images using JavaScript and Eden AI. By signing up for Eden AI and integrating the API into your projects, you can easily detect synthetic media and enhance your applications with AI-powered image detection. With Eden AI’s multi-provider support, accuracy, and ease of integration, it’s an ideal tool for developers looking to implement AI content verification solutions.
Whether you're tackling image verification or building advanced media detection systems, Eden AI makes it easy to get started with just a few lines of code.

.jpg)

.avif)
.avif)