.jpg)
Summarize this article with:
What is RAG, and Why Use It?
Retrieval-Augmented Generation (RAG) is a game-changing AI technique that combines retrieval (fetching relevant documents) and generation (LLM output) to improve the accuracy of responses. Unlike traditional chatbots that rely solely on predefined rules or general AI knowledge, RAG enables the chatbot to:
- Provide precise, context-aware answers by referencing external sources.
- Handle specific user queries with knowledge from documentation.
- Improve customer support by reducing reliance on human intervention.
- Offer personalized recommendations based on retrieved data.
Why Use a Discord Chatbot?
Discord chatbots are essential for automating interactions, providing instant support, and enhancing user engagement within communities. They serve various purposes, such as answering frequently asked questions, assisting with troubleshooting, managing server moderation, and even offering personalized recommendations. For businesses and developers, a well-integrated chatbot ensures users receive timely, accurate information without human intervention. By leveraging AI-powered chatbots, Discord communities can create a more interactive and efficient environment, improving both user experience and operational efficiency.
Real-World Applications of RAG in Chatbots
Beyond Discord, RAG-powered chatbots can be used for:
- Question Answering – Providing precise responses by pulling data from documentation or knowledge bases.
- Customer Support – Automating FAQs and resolving user issues quickly.
- Personalized Recommendations – Suggesting relevant content or products based on user inquiries.
- Technical Assistance – Helping developers troubleshoot API integrations efficiently.
Eden AI’s RAG Discord Chabot
At Eden AI, we leveraged RAG to build a custom Discord chatbot that assists users by answering questions using our documentation and previous LLM knowledge.
This chatbot is designed to support users who want to integrate and use Eden AI’s features but encounter challenges along the way. By integrating RAG, our Discord chatbot ensures that users receive reliable and detailed responses to their questions about Eden AI’s features, APIs, and integrations.
Eden AI’s Discord server is a dedicated space where developers, businesses, and AI enthusiasts can collaborate, seek support, and share insights about AI-powered tools. Our chatbot enhances this experience by providing instant assistance, guiding users through troubleshooting, and answering common questions about our platform.
In this article, we’ll walk you through our easy to follow development process, and how RAG enhances chatbot functionality.
Overview of the Development Process
1. Setting Up the RAG Project
To build the chatbot, the first step was creating a RAG project with the necessary components:
- Choosing an LLM – We specified which large language model to use for generating responses.
- Selecting an Embedding Provider – Embeddings represent both the user’s query and the retrieved information in a vector format, making it easier to match relevant content.
- Choosing a Vector Database – This database stores and retrieves documents based on similarity, allowing the chatbot to find the most relevant information efficiently
Eden AI’s RAG feature makes creating RAG projects easy and efficient. Here’s how it works:
- Upload your data and test it with different LLMs, all in one place.
- No need to worry about setting up vector databases or LLMs—we handle that for you.
- You can adjust RAG parameters and create conversations, all directly in the web app (no coding required).
- Use your RAG directly within the web app or interact with it through our API.
For more details, check out:
📌 Our documentation: Eden AI Docs
📌 GitHub Repository: Eden AI RAG Chatbot
2. Uploading your desired data to the Chatbot
Since our chatbot needed to assist users with Eden AI’s features, we want it to use:
- Eden AI’s documentation to provide context about Eden AI's features.
- Previous user queries and FAQs to provide examples to optimize accuracy and relevance.
Test and play around with different parameters.
3. Integrating the Chatbot with Discord
After setting up the RAG project, the next step was using the chatbot on Discord. The integration process included:
- Creating a Discord bot and connecting it to the server.
- Setting up API calls to Eden AI’s RAG system to retrieve relevant information.
With just these two steps, the chatbot was live and ready to assist users directly within Discord.
Easy Step by Step Tutorial
Step 1. Set Up Your RAG Project
1. Sign up on Eden AI
Sign up and access our Custom Chatbot feature:

2. Create a new project
Begin by creating a new project from scratch and assign its name.
.avif)
Step 2. Configure Your RAG Environment
Choose from Eden AI’s extensive list of top models and providers.
Then, easily specify your configurations — adjust parameters, set your preferences, and manage everything you need, all in one place for a smooth and efficient setup.
.avif)
Step 3. Upload and Test your Data
The next step is to upload your data into the RAG project
.avif)
We simplify the process by allowing you to upload files, text content, or URLs (including websites that require JavaScript rendering, like SPAs).
Step 4. Train Your Chatbot and Optimize Your Data
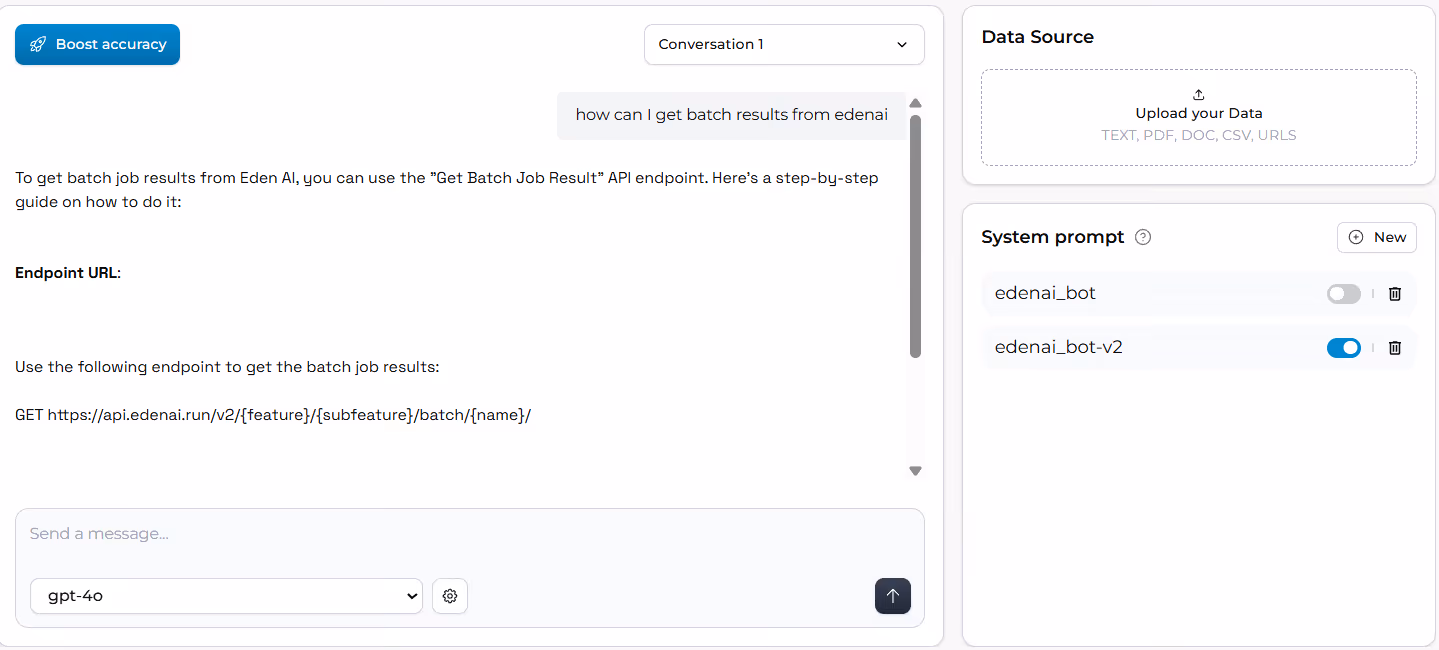
You can then query your database and interact with your data using various LLM models directly in the web app, making it easy to test and debug your RAG.

Customize data chunk extraction with parameters like chunk count or minimum score, and experiment with different system prompts and queries.
Once you've fine-tuned your settings, you can apply your RAG to your use case. In this case, we integrated the Discord SDK in Python to assist users with questions about our platform.
Step 5. Integrate Your Chatbot Into Discord
1: Create a Discord Bot Application
To interact with Discord's API, you need to create an application and attach a bot to it.
1. Go to the Discord Developer Portal and log in.
2. Click “New Application”, give it a name, and confirm.
In the left sidebar, click “Bot”, then “Add Bot”, and confirm.

3. Copy “Application ID” (you will need it later)
4. Click “Reset Token” to generate a new token.
5. Copy the bot token and store it securely — this token allows you to control your bot programmatically.
⚠️ Important: Never share your bot token publicly.
6. Enable “Message Content Intent”

2: Invite the Bot to Your Discord Server
Once the bot is created, you need to generate an invite link to add it to a server.
- Go to the “OAuth2” → “URL Generator” section in your application.
- Under Scopes, check the box for bot.
- Under Bot Permissions, select what your bot should be allowed to do, such as:
- Send Messages
- Read Message History
- Manage Messages (optional, for more control)
- Copy the generated URL at the bottom of the page.
- Open the link in your browser, select your server, and click “Authorize”.
You should now see the bot (offline) in your server’s member list.
.avif)
Step 6. Connect Your RAG System to Discord
1. Choose a Programming Language and Secure Your Credentials
Now that your bot is created and added to your server, it’s time to start coding.
Discord provides SDKs (also called libraries or wrappers) in multiple programming languages:
- JavaScript or TypeScript → discord.js
- Python → discord.py
- Rust, Java, Go, and others via community-supported libraries
In this guide, we’ll be using Python with the discord.py library because it’s simple, widely supported, and beginner-friendly.
2. Keep Your Bot Token Safe
Your bot token is like a password — if someone gains access to it, they can take full control of your bot.
Never write your token directly into your code. Instead, use a .env file to store it securely.
Steps to secure your token:
- Create a file called .env in your project folder.
- Inside the .env file, write this line (replace with your real token):
DISCORD_BOT_TOKEN=your_actual_token_here - Install the python-dotenv package to load environment variables:
pip install python-dotenv - In your Python script, use the following code to load the token:
At this point, you should have a simple but functional bot up and running.
Step 7. Use Your RAG With Discord
Now to use your RAG with the Discord bot you can put your Eden AI api_key and your rag project into the .env file.
Create a small helper function to call your custom rag
Create a new command to reply to your user’s messages:
And just like that, you now have a custom chatbot ready to respond to your users' questions!
.avif)
Now you can enhance your bot by refining its system prompt to respond exclusively to company-related inquiries, experimenting with different models, improving error handling, and expanding functionality. For example, you can introduce features like displaying a "typing..." indicator when users ask a question or enabling image support.
Step 8. Track Bot Performance and Troubleshooting
Observability is all about keeping track of what's happening inside your system using data like logs, metrics, and traces. It helps you spot issues, track performance, and ensure everything’s working smoothly.
We will apply this feature to our project to trace our RAG system's responses and evaluate its performance. To do that, we will use Phoenix.
- Go to Phoenix, create an account, and obtain your environment variable.
- Copy the environment variable into your .env file.
Here’s an example of how your .env file should look at this stage:
Register your phoenix project to start tracing your calls
To start tracing your calls, first import the necessary dependencies:
Next, modify your ask llm function to enable tracing of the results:
Now you should be able to see your traces on phoenix’s webapp.
Challenges
- Scraper Limitations: Our initial scraper did not support JavaScript rendering, which restricted the extraction of dynamically loaded content.
- Relevance Filtering: Users could reply to unrelated topics, leading to off-topic or irrelevant discussions.
- Ensuring Contextual Accuracy: The LLM needed to receive only the relevant chunks related to a given query while avoiding irrelevant data.
- Chunk Size Optimization: Instead of small fragments, we aimed for each chunk to encompass a full API endpoint, providing more complete context per retrieval.
By using the feature as regular users, rather than just developers, we gained valuable insights into its pain points and were able to refine the system for a smoother user experience.
This hands-on approach allowed us to address challenges and optimize the overall functionality for all users.
- Enhanced Query Filtering: Implemented filters to refine the chunks retrieved for each query.
- JavaScript Support in the Scraper: Upgraded the scraper to support JavaScript rendering, ensuring the extraction of dynamic content.
- Better LLM Instructions Handling: Instead of using prompt, system-level instructions were placed in system_prompt to avoid interfering with user queries.
- Dynamic Relevance Scoring: Introduced a min_score parameter to exclude low-relevance chunks dynamically, ensuring the retrieval process adapts based on the complexity of the question.
Best Practices for Monitoring LLM Performance
To maintain quality and ensure the bot retrieves the right information, we adopted an LLM-as-a-Judge approach. This method helps evaluate whether the retrieved chunks are relevant and whether the responses align with expectations. This ongoing monitoring helps fine-tune the system for better accuracy and user experience.
Conclusion
By leveraging Retrieval-Augmented Generation, we’ve created a powerful custom Discord chatbot at Eden AI that delivers instant, accurate responses, greatly enhancing user experience.
The chatbot pulls relevant documentation and contextual information to efficiently address queries, reducing reliance on manual support.
Through this process, we’ve demonstrated how RAG can improve user interaction, from setup to Discord integration.
This approach not only enhances customer support but also opens up new possibilities for personalized recommendations and technical troubleshooting.
RAG’s potential to transform user engagement is clear. By following the steps in this article, you can implement RAG in your own projects, creating responsive, intelligent bots that provide context-aware, precise responses.

.jpg)

.avif)
.avif)