.avif)
Summarize this article with:
Welcome to our comprehensive tutorial on generating videos from text using JavaScript!
Whether you're creating dynamic video content, developing educational videos, or exploring the creative potential of AI-driven video generation, this tutorial will provide you with the knowledge and tools you need to bring your text-based ideas to life visually.
What is Video Generation ?

Video Generation allows you to effortlessly create stunning video content from text or images, turning your ideas into captivating visual stories.
Whether you're looking to produce promotional videos, educational content, or creative animations, this tool transforms your concepts into engaging, high-quality videos with minimal effort.
Implementing Video Generation in JavaScript
Get Access to Eden AI API
1. Before implementing Video Generation, you need access to the Eden AI API. Visit Eden AI and sign up for an account. Once registered, navigate to the API section to obtain your API key. This key will give you access to a wide range of AI services including face comparison.
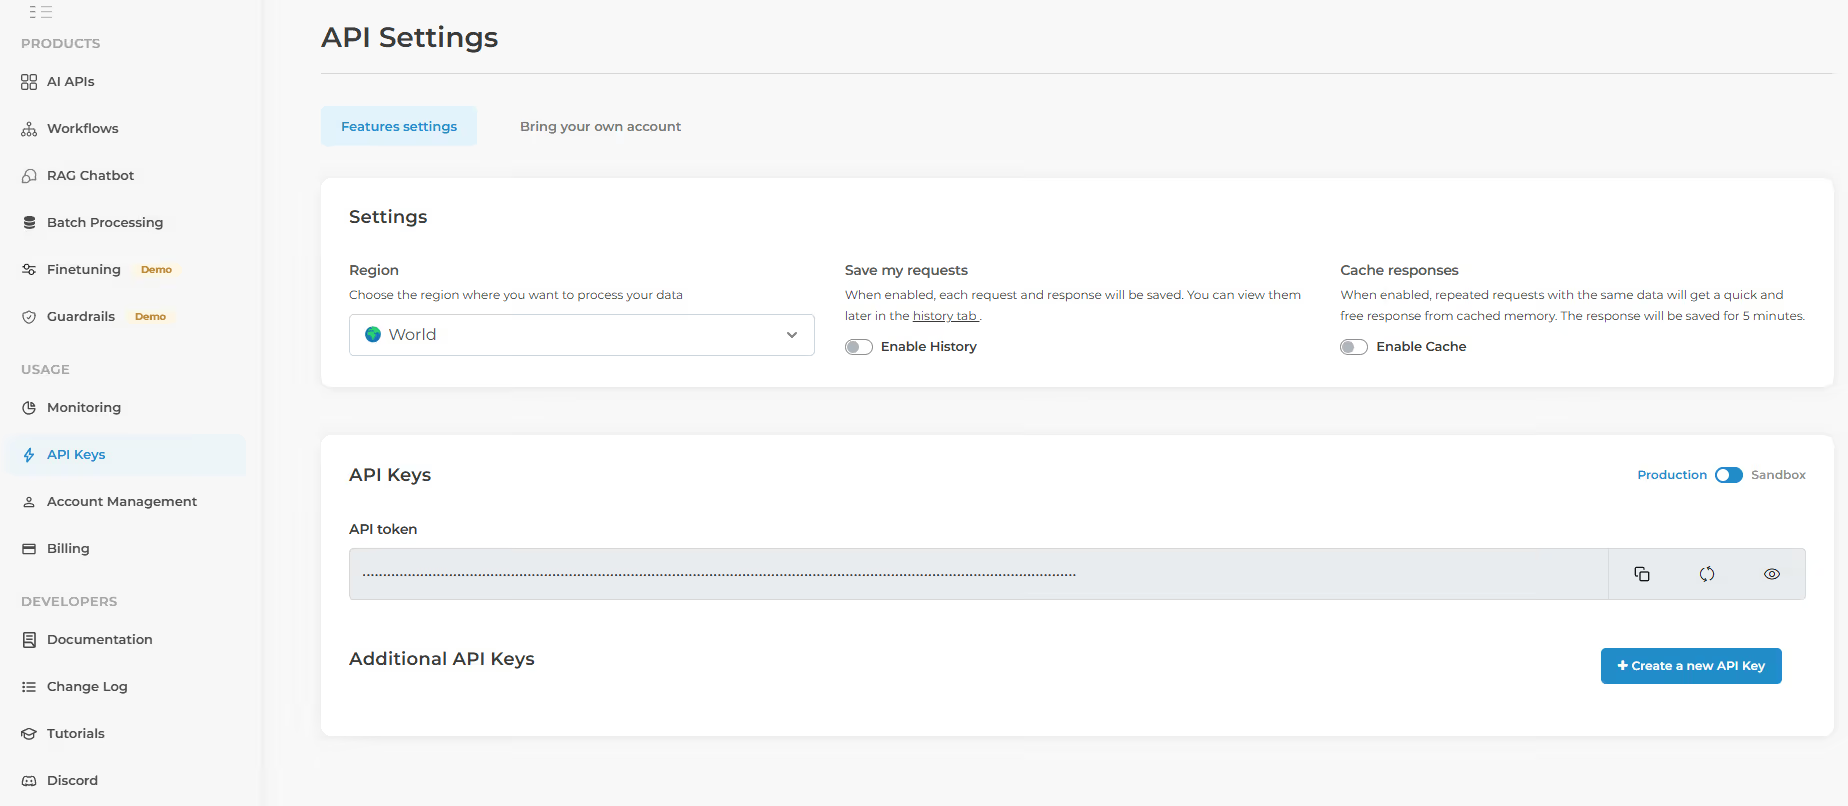
2. Go to Generative Technologies – Once logged in, head to the Generative AI section of the platform.
3. Choose Video Generation– Select the Video Generation feature or explore additional options based on your requirements.
Live Test Models on Eden AI
Eden AI offers an interface to test various AI models before integration, helping you determine which provider best suits your needs.
Install JavaScript’s Requests Module
To begin, you need to install the necessary JavaScript libraries for making HTTP requests. In this case, we’ll use Axios, a promise-based HTTP client that simplifies making HTTP requests.
To install Axios, run the following command in your terminal:
POST Request to Launch Video Generation Job
This phase is where you launch the video generation job. The request will send the input parameters to the Eden AI API and the API will process the request, providing a unique public ID for tracking the job.
The POST request sends the data in JSON format to initiate the video generation job. Here's the updated code for sending the request:
Axios Request: We send the POST request using Axios to the video generation endpoint. The Authorization header contains your API token, and the Content-Type is set to application/json, as we are sending JSON data.
Data Object: The request body (data) contains:
- providers: The video generation provider (in this case, Amazon).
- text: A text prompt that describes what kind of video you want to generate.
Response Handling: Upon success, the response will contain information about the job, including a public_id to track the status of the job.
GET Request to Retrieve Job Results
After the POST request, we send a GET request to check the status of the video generation job using the public_id. The Authorization header contains your API token, and the request parameters specify additional options like response_as_dict, show_base_64, and show_original_response.
After the job is launched, use the public ID returned by the POST request to check the status of the video generation job. Here’s the code to retrieve the job results:
Response Handling: After sending the GET request, we process the response:
- status: Shows whether the job is success, processing, or failed.
- video_url: If the job is successful, this URL points to the generated video.
- error: If the job failed, the error field will contain details about the failure.
Interpreting the Results
Below is an example output of what you should get:
The API response contains several fields:
status : This indicates the current state of the job:
- success: The video has been successfully generated.
- processing: The video is still being generated.
- failed: The video generation failed.
video_url: If the status is success, this field contains the URL to the generated video.
error: If the job failed, this field will contain an error message explaining the failure.
In this case, the video generation was successful, and the URL to the generated video is provided.
Why Eden AI is the Best Tool for Video Generation
Eden AI stands out as a leading tool for video generation.

Multiple AI Providers
Eden AI lets you choose between various AI providers, such as Amazon, for video generation. This ensures flexibility and the ability to choose the best service for your needs.
Easy Integration
Eden AI simplifies integrating advanced video generation into your projects with a straightforward API and authentication process.
Cost Efficiency
Eden AI offers flexible pricing plans, ensuring that you only pay for what you use.
Conclusion
In this tutorial, we’ve covered how to generate videos using Eden AI’s API in JavaScript.
We discussed the POST request to launch the video generation job and the GET request to retrieve the job results. By following these steps, you can integrate video generation into your applications with ease.
Eden AI provides a powerful and flexible platform for video generation, and with just a few lines of code, you can bring this functionality into your own projects.
Whether you're creating video content for marketing or educational purposes, Eden AI offers a simple and cost-effective solution.

.jpg)

.avif)
.avif)