Summarize this article with:
Welcome to our comprehensive tutorial on extracting data from documents using Python! Whether you're automating data entry, analyzing large volumes of text, or building a document processing system, this tutorial will equip you with the knowledge and tools you need.
What is Document Data Extraction?

Document data extraction is the process of automatically identifying and retrieving specific information from structured or unstructured documents. Using advanced algorithms and machine learning techniques, data extraction systems can parse through various document formats and extract relevant data points, saving time and reducing manual effort.
How Does it Work?
Document data extraction typically involves two key technologies: Optical Character Recognition (OCR) and Document Parsing.
Optical Character Recognition (OCR)
OCR is the foundation of document data extraction for image-based documents. It works by:
- Analyzing the visual elements of a document image
- Identifying individual characters and words
- Converting these visual representations into machine-readable text
OCR technology uses advanced algorithms and machine learning models to recognize various fonts, handwriting styles, and even handle skewed or distorted text.
Document Parsing
Once the text is extracted via OCR (or if the document is already in text format), document parsing comes into play. This process involves:
- Analyzing the structure and layout of the document
- Identifying key sections, headers, and data fields
- Extracting specific information based on predefined rules or AI-driven understanding of document context
Document parsing can utilize techniques like Natural Language Processing (NLP) and machine learning to understand the context and relevance of different pieces of information within the document.
By combining OCR and document parsing, data extraction systems can efficiently process a wide variety of document types, from simple forms to complex multi-page reports, and extract structured data that can be easily used in various applications.
Applications of Document Data Extraction:
- Business Process Automation: Extracting data from invoices, receipts, and forms to streamline financial processes.
- Research and Analysis: Gathering information from academic papers, reports, and articles for systematic review.
- Legal Document Processing: Extracting key clauses, dates, and parties from contracts and legal documents.
- Healthcare Information Management: Extracting patient data from medical records and prescriptions.
How to extract data from your documents using Python?
Step 1: Create an Account on Eden AI and Get Your API Key
To get started with the Eden AI API, create an account on the Eden AI platform. Once registered, you will receive an API key that grants you access to various OCR & Document Parsing providers available on the platform.


Step 2: Live Testing of different Providers
Before integrating the API into your application, you can perform live testing to evaluate the performance of different OCR & Document Parsing providers and choose the one that best fits your needs. This helps ensure you select the most accurate and efficient provider for your specific use case.
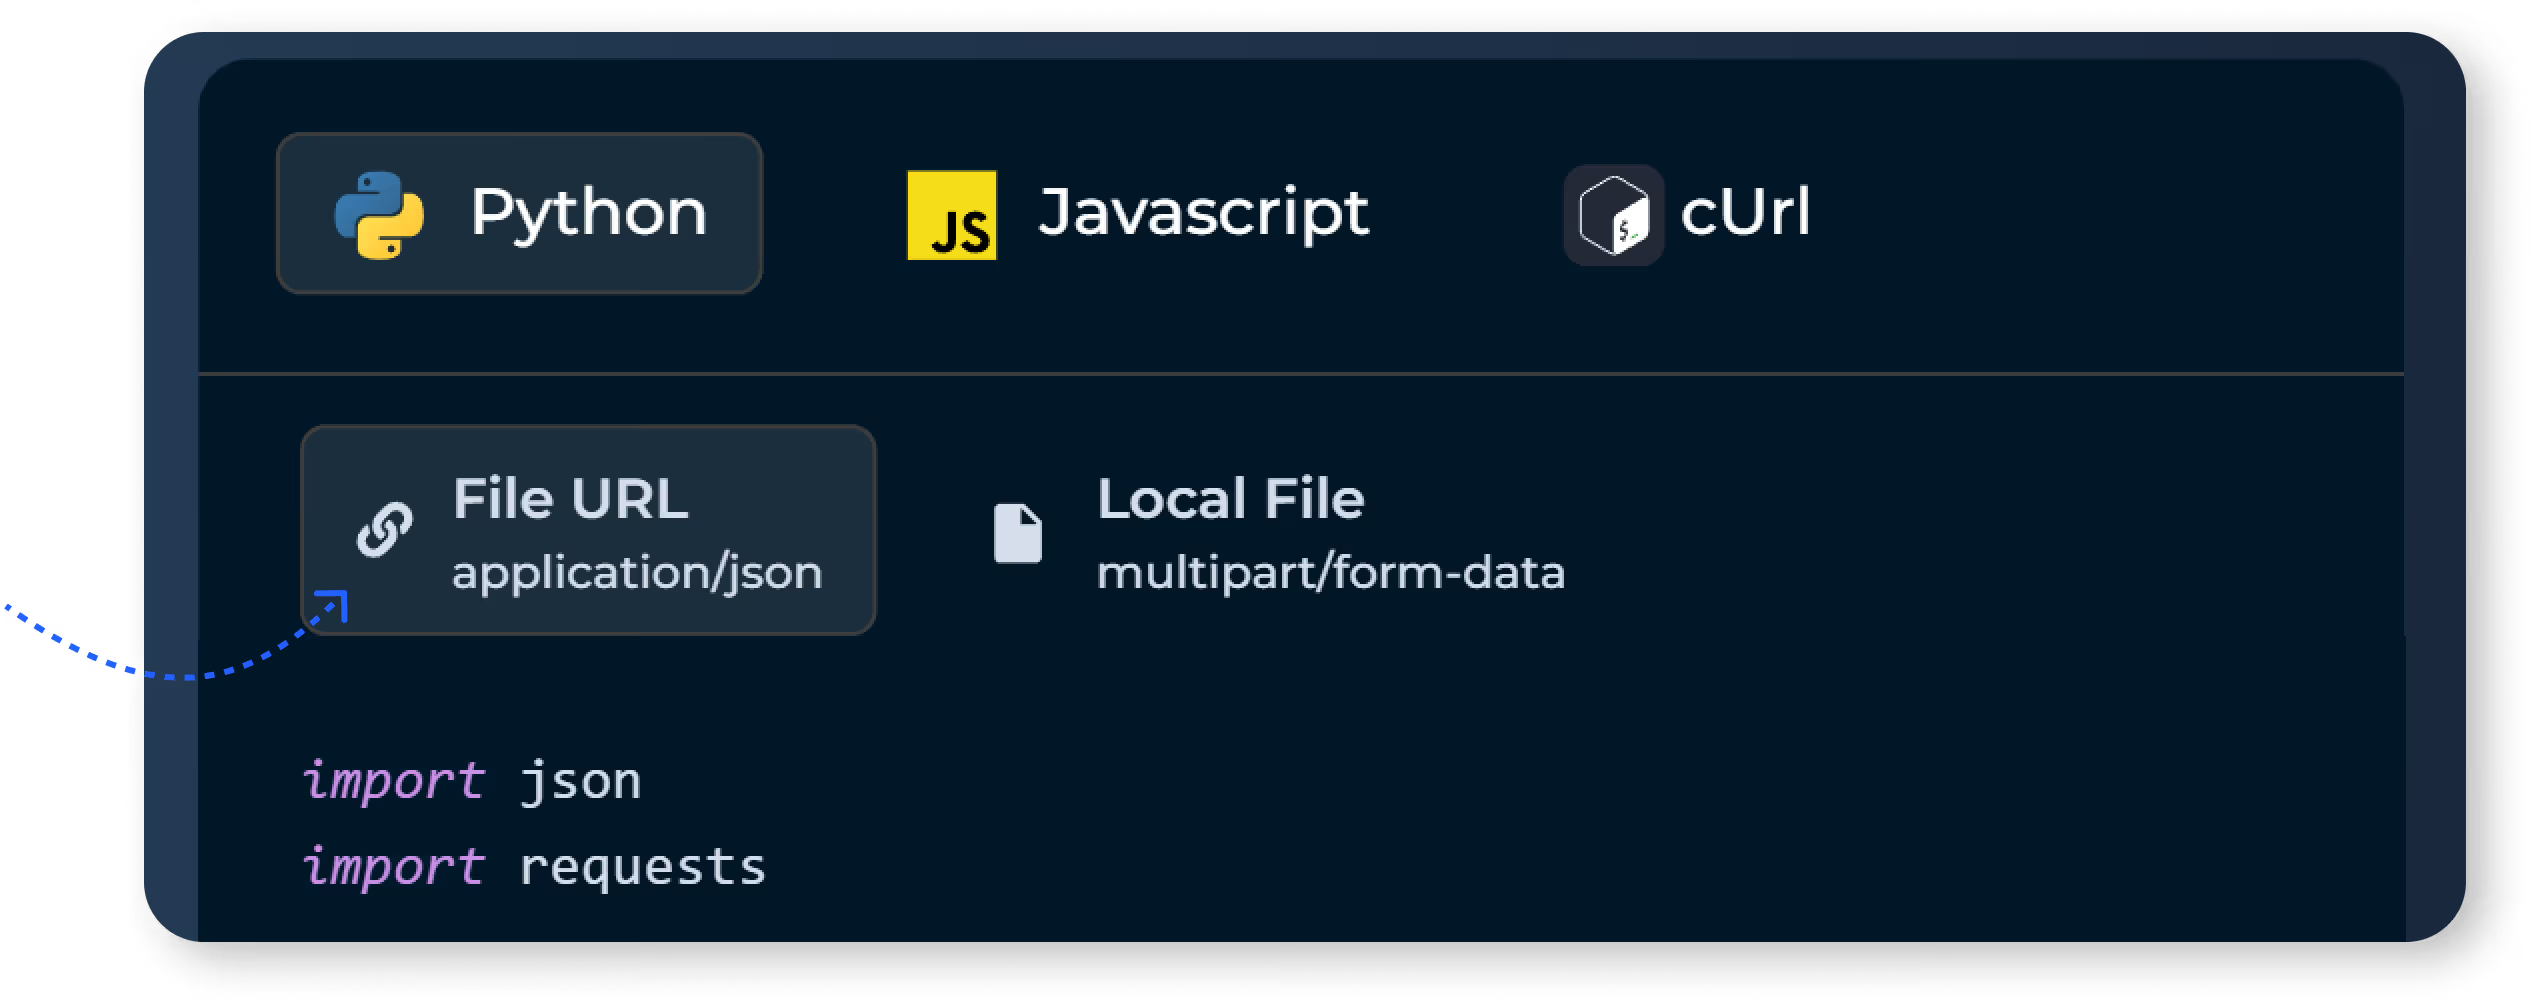
Step 3: Choose Your Document Source
With certain features you will have to decide where your document is located:
- File URL: If your document is hosted online, you'll use its URL.
- Local File: If your document is stored locally on your machine, you'll provide its file path.
Step-by-Step Tutorial for Specialized Parser (Financial Documents Parser feature) with Python
1. Live Testing on Eden AI Platform:
- Go to Eden AI and navigate to the financial parser section.
- Choose a provider (e.g., Veryfi) and upload your invoice document.
- Customize settings like document type and language.
- Launch the test and review the extracted.
2. Implementation in Python:
- Get the Python Code Snippet on the Eden AI App
Changes to Make:
- Replace "your_api_key" with your actual Eden AI API key.
- Update "path/to/your/invoice.pdf" to the path of the invoice file on your local machine.
- Adjust "providers" and "document_type" if using a different provider or document type.
Step-by-Step Tutorial using the Custom Document Parser (Async) feature
1. Live Testing on Eden AI Platform:
- Go to the custom document parser section on Eden AI.
- Select a query (e.g., "What are the merchant informations?") and a provider (e.g., Extracta).
- Upload your document and launch the test.
- Monitor the status and retrieve results when ready.
2. Implementation in Python:
For making the initial POST request:
Copy the Python code snippet from the Eden AI App
Changes to Make:
- Replace "your_api_key" with your actual Eden AI API key.
- Update "path/to/your/document.pdf" to the path of the document file on your local machine.
- Adjust "providers" and "queries" based on your specific query and chosen provider.
For retrieving the results with a GET request:
- Get the code snippet from the “Custom Document Parsing get your result” on the Eden AI Documentation.
Changes to Make:
- Replace "your_api_key" with your actual Eden AI API key.
- Replace "your_public_id" with the public_id obtained from the initial POST request.
Step-by-Step Tutorial using the Data Extraction Feature
1. Live Testing on Eden AI Platform:
- Navigate to the data extraction section on Eden AI.
- Upload your document and select a provider (e.g., Base64).
- Launch the test and review the extracted data in JSON format.
2. Implementation in Python:
- Get the Python Code Snippet on the Eden AI App
Changes to Make:
- Replace "your_api_key" with your actual Eden AI API key.
- Update "path/to/your/document.pdf" to the path of the document file on your local machine.
- Adjust "providers" if using a different provider.
Step-by-Step Tutorial combining OCR and CNER (Custom Named Entity Recognition)
OCR Multipage:
1. Live Testing on Eden AI Platform:
- Go to Eden AI and navigate to the OCR Multipage section.
- Select a provider (e.g., Amazon).
- Upload your multipage document.
- Launch the job and wait for it to complete.
- Retrieve the OCR results.
2. Implementation in Python:
- Get the Python Code Snippet on the Eden AI App
Changes to Make:
- Replace "your_api_key" with your actual Eden AI API key.
- Update "path/to/your/multipage_document.pdf" to the path of the document file on your local machine.
3. Retrieve OCR Results:
Changes to Make:
- Replace "your_api_key" with your actual Eden AI API key.
- Replace "your_public_id" with the public_id obtained from the initial POST request.
CNER (Custom Named Entity Recognition):
1. Live Testing on Eden AI Platform:
- Navigate to the CNER section on Eden AI.
- Input the extracted OCR text.
- Specify entities to be recognized (e.g., total and phone number) and select a provider (e.g., OpenAI).
- Launch the test and review the extracted entities.
2. Implementation in Python:
- Get the Python Code Snippet on the Eden AI App
Changes to Make:
- Replace "your_api_key" with your actual Eden AI API key.
- Ensure ocr_text contains the text extracted from the OCR step.
- Adjust "providers" and "entities" based on your specific requirements.
Full Combined Code Example:
Here is a combined version of the OCR and CNER steps:
Summary:
- OCR Multipage:some text
- Upload and process a multipage document using an OCR provider.
- Poll for the OCR results until they are ready.
- Extract the text from the OCR results.
- CNER:some text
- Use the extracted OCR text as input for the CNER process.
- Specify the entities you want to recognize.
- Review the recognized entities.
Make sure to replace placeholders with actual values such as your API key and document paths. Adjust providers and settings based on your specific needs.
Benefits of using Eden AI's unique API
Using Eden AI API is quick and easy.

Save time and cost
We offer a unified API for all providers: simple and standard to use, with a quick switch that allows you to have access to all the specific features very easily (diarization, timestamps, noise filter, etc.).
Easy to integrate
The JSON output format is the same for all suppliers thanks to Eden AI's standardization work. The response elements are also standardized thanks to Eden AI's powerful matching algorithms.
Customization
With Eden AI you can integrate a third-party platform: we can quickly develop connectors. To go further and customize your API request with specific parameters, check out our documentation.
Next step in your project
The Eden AI team can help you with your Image Similarity Search integration project. This can be done by :
- Organizing a product demo and a discussion to understand your needs better. You can book a time slot on this link: Contact
- By testing the public version of Eden AI for free: however, not all providers are available on this version. Some are only available on the Enterprise version.
- By benefiting from the support and advice of a team of experts to find the optimal combination of providers according to the specifics of your needs
- Having the possibility to integrate on a third-party platform: we can quickly develop connectors.

.jpg)

.avif)
.avif)