.avif)
Summarize this article with:
Detecting shot changes in video content is a crucial task in video analysis, enabling tasks like scene segmentation, content extraction, and video editing.
In this tutorial, we'll walk through how to use the EdenAI API to perform shot change detection asynchronously in a video using JavaScript.
What is Video Shot Change Detection?
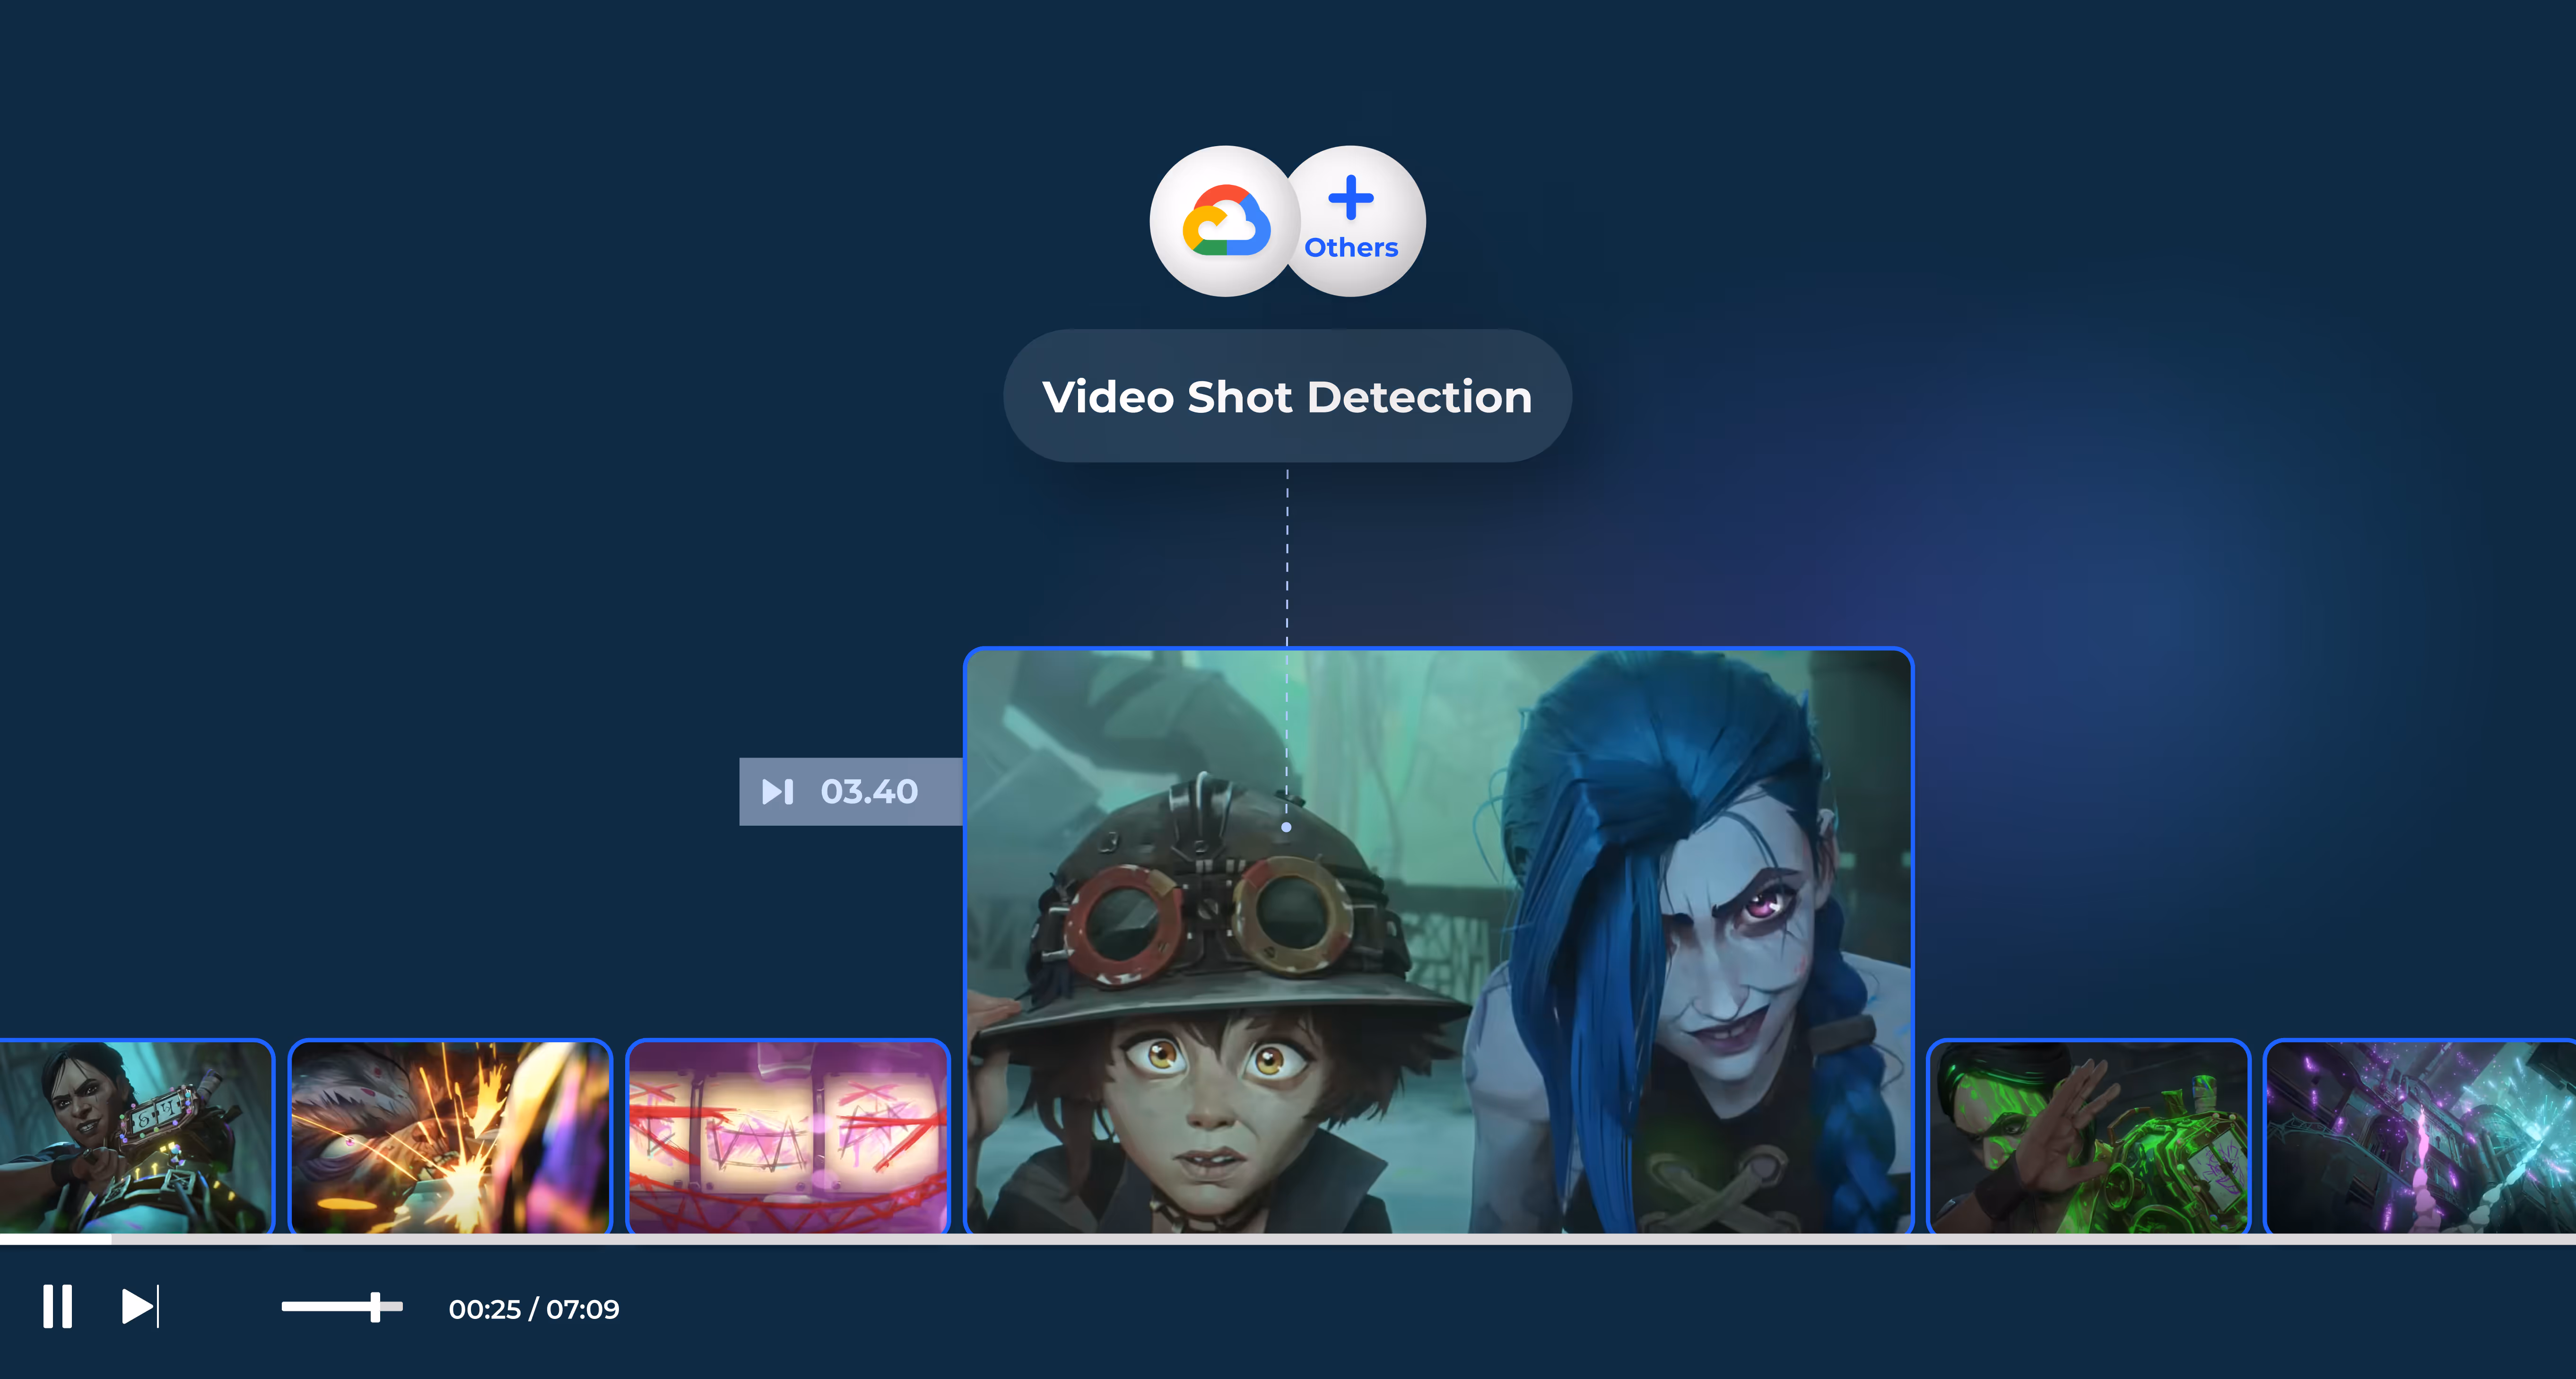
Video Shot Change Detection annotates a video with segments that are generated by detecting abrupt shot changes within the video.
This process helps break the video into distinct sections, making it easier to analyze and edit.
How to Detect Shot Changes in Videos
Get Access to Eden AI API
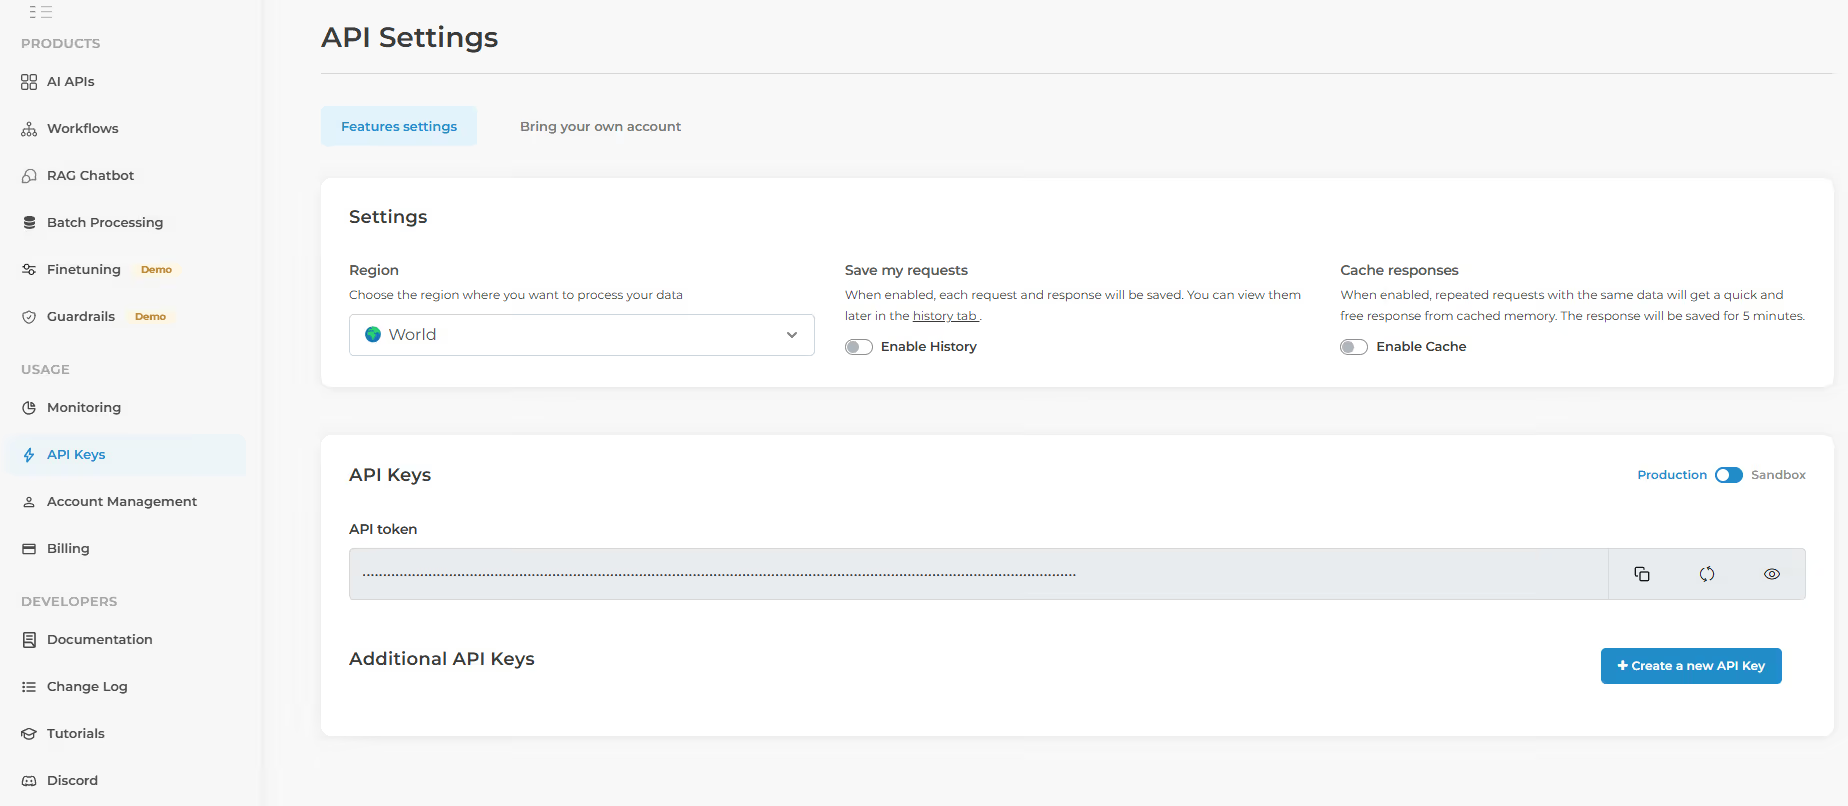
1. Sign up: Visit Eden AI and sign up for a free account to get started. Once registered, navigate to the API section to find your personal API key—this key gives you access to a wide range of AI services, including Shot Change Detection.
2. Navigate to Video Technologies – Log in and head to the Video Technologies section.
3. Select Shot Change Detection– From there, select the Shot Change Detection option, or dive into more advanced features based on your requirements.
Live Test Models on Eden AI
Eden AI provides a platform where you can test different AI models before integrating them, allowing you to evaluate and select the provider that best aligns with your needs.
Implementing the Shot Change Detection in JavaScript
The process of shot change detection is broken down into two stages because it can take time:
- POST request: This initiates the shot change detection job. When you send the POST request, you provide the URL of the video that needs to be analyzed. The response gives you a unique public_id, which you will use to check the status and retrieve results.
- GET request: After launching the job with the POST request, you use the GET request to retrieve the results of the shot change detection. This response will contain the processed data showing the shot boundaries.
The POST request is asynchronous and starts the job, while the GET request checks on the job’s completion and fetches the results.
Install JavaScript Requests Module
To make HTTP requests from your JavaScript code, we'll be using axios, a promise-based HTTP client that works in both the browser and Node.js.
It’s easy to use, highly customizable, and simplifies sending requests and handling responses. To install axios, run the following command:
Making the POST Request to Launch the Job
In the POST phase, we send a request to EdenAI's shot change detection endpoint, passing in the URL of the video you want to analyze.
This request tells EdenAI to process the video and provides the necessary parameters, such as the video URL and the AI provider (e.g., Google).
Code Example: POST Request
Explanation of Code:
- API_KEY: This is your unique API key for authenticating with the EdenAI platform. You should replace it with your actual API key.
- url: The endpoint for EdenAI's shot change detection API.
- json_payload: This contains the parameters sent to EdenAI. In this case, we’re specifying the AI provider (google) and the video file URL (file_url).
- Authorization: This header includes your API key for authentication.
What Happens in the POST Request?
- Request Initiation: The POST request starts the shot change detection job.
- Response: EdenAI processes the request and responds with a public_id. This ID will be used to fetch the results.
Making the GET Request to Retrieve Results
Once the job is launched, the next step is to make a GET request to check the status and retrieve the results once the process is complete.
Code Example: GET Request
Explanation of Code:
- public_id: This is the unique ID you received from the POST request, which you now use to fetch the results.
- url: The endpoint for checking the status and getting the results of your shot change detection job.
- Authorization: The same API key is used to authenticate the GET request.
What Happens in the GET Request?
- Check Job Status: The GET request checks the status of the shot change detection job.
Retrieve Results: If the job is complete,
Example Output
Once you send the GET request and the job is complete, you’ll receive a JSON response which will contain data about the shot changes detected in the video, you can expect it to be similar to this:
Explanation of the Output Fields
- google: This is the name of the AI provider used (as specified in the POST request).
- status: Indicates if the job was successfully completed.
- shot_changes: An array of detected shot segments in the video.
- start_time: The timestamp (in seconds) where a shot begins.
- end_time: The timestamp where that shot ends.
- start_time: The timestamp (in seconds) where a shot begins.
Each object in the shot_changes array represents a segment of the video between two shot changes — ideal for scene detection, trimming, or further analysis.
This data can be used to split the video into scenes or to highlight changes for further processing.
Managing Video Shot Change Detection Jobs
To streamline the management of video shot change detection tasks, Eden AI offers two optional but helpful endpoints:
1. List Jobs (GET Request)https://api.edenai.run/v2/video/shot_change_detection_async/
This endpoint returns a list of all initiated shot change detection jobs. Each job includes a unique ID, which you can use to monitor its status or retrieve results. Full documentation is available for reference.
2. Delete Jobs (DELETE Request)https://api.edenai.run/v2/video/shot_change_detection_async/
Use this endpoint to remove completed or unwanted jobs, keeping your workspace organized and clutter-free. Detailed documentation is also provided.
By incorporating these tools, you can efficiently monitor, manage, and maintain your shot change detection workflow on Eden AI.
Why EdenAI is the Best Tool for Shot Change Detection
EdenAI provides a robust, easy-to-use API that integrates multiple AI providers for background removal, shot detection, and other video analysis tasks.
The unified platform allows you to choose the best provider for your needs while offering a seamless interface.

Multiple Providers
You can use different AI models (like Google) based on your requirements.
Easy Integration
The API is simple to integrate with your application using standard HTTP requests.
Scalability
EdenAI’s infrastructure supports both small and large-scale requests, making it suitable for various use cases.
Reliable Results
EdenAI consistently delivers accurate and timely results, backed by leading AI technology.
Conclusion
In this article, we’ve shown how to implement shot change detection using the EdenAI API in JavaScript.
This process is highly scalable and can be integrated into web applications, content management systems, or any platform requiring video analysis.
By leveraging EdenAI's APIs, you can quickly integrate advanced video analysis features, such as shot change detection, into your applications.
Whether you're working on video editing, content analysis, or media management, EdenAI offers a powerful and accessible solution to enhance your workflow.

.jpg)

.avif)
.avif)